How To Connect A PS5 Controller To A Laptop
11 August 2026 | 268
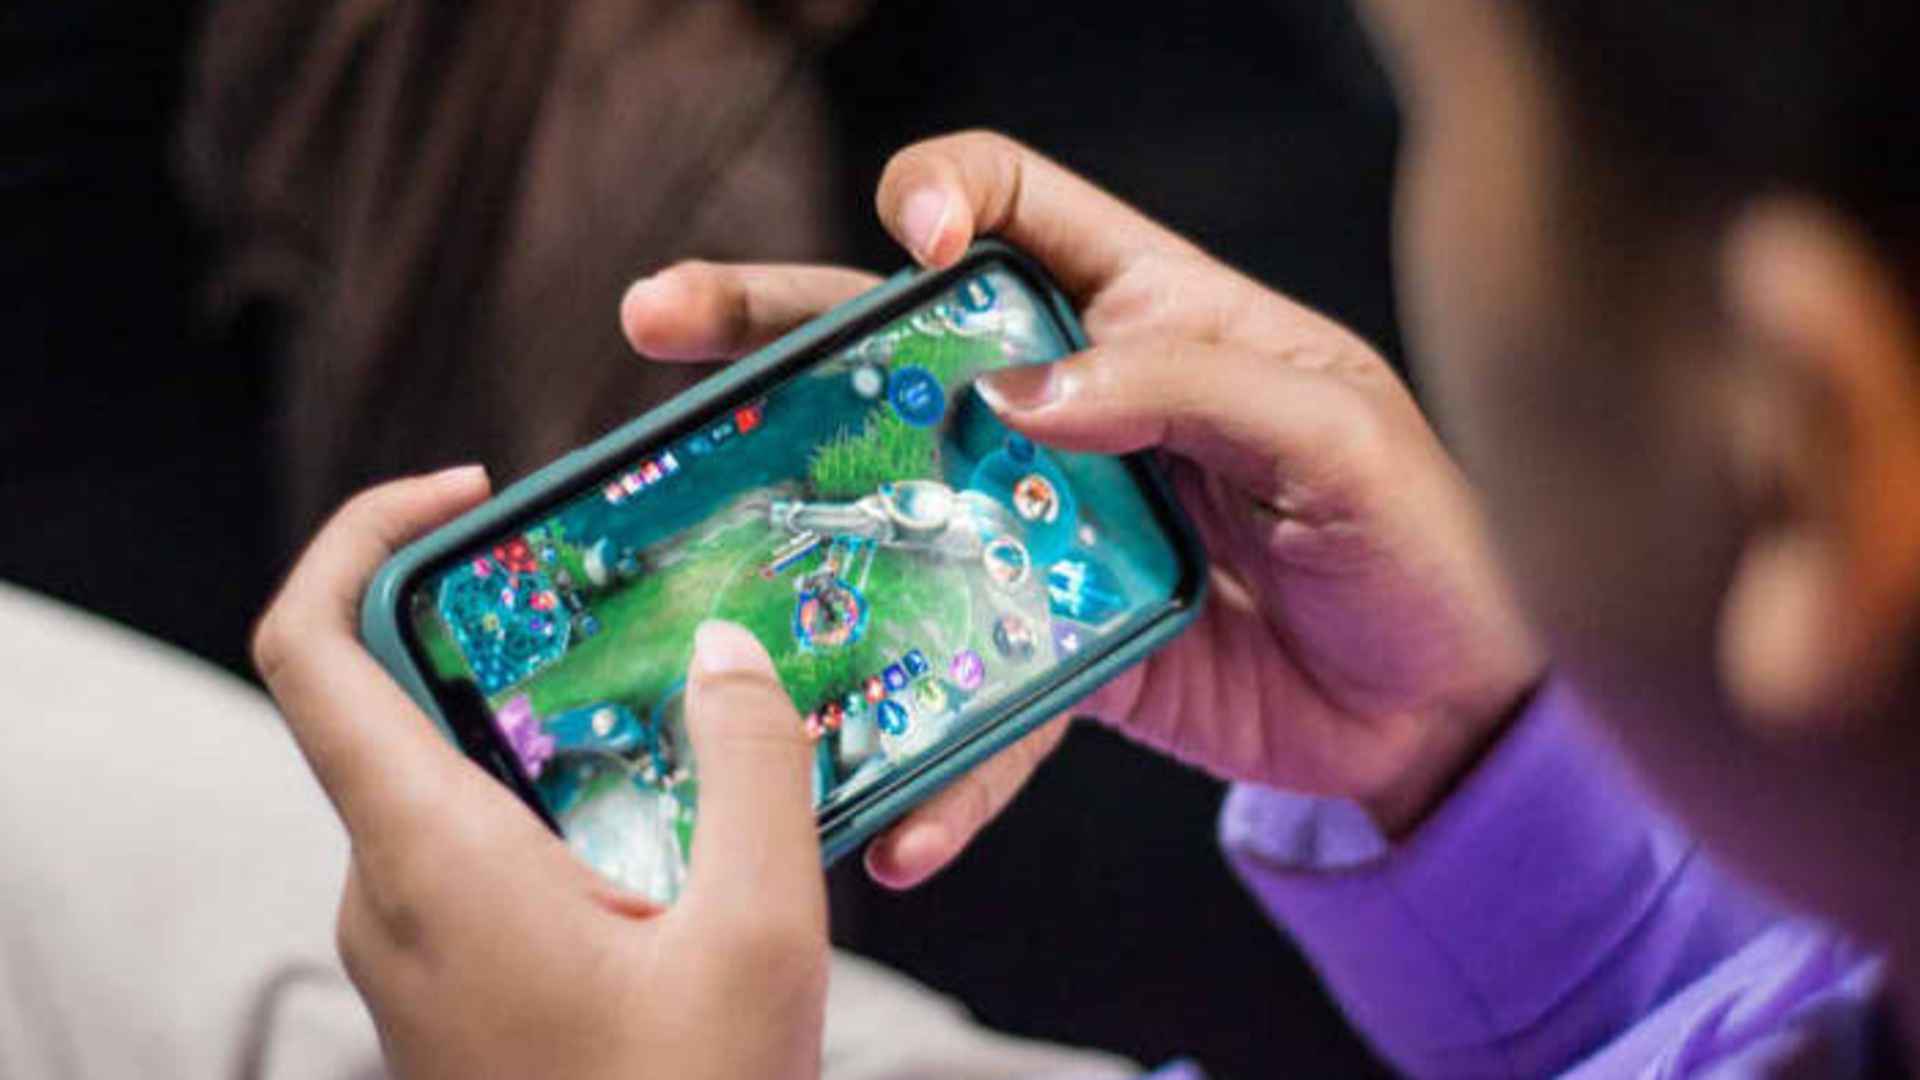
Connecting a PlayStation 5 DualSense controller to a laptop opens up a world of immersive PC gaming, allowing you to enjoy advanced haptic feedback and ergonomic comfort. Whether you prefer the freedom of a wireless setup or the zero-latency reliability of a wired connection, integrating this modern gamepad into your portable rig is surprisingly straightforward. Understanding the proper synchronization steps ensures you can jump into your favorite titles without encountering sudden signal drops or input glitches.
Connecting via Bluetooth Wireless Mode
To establish a wireless connection, you must first put your DualSense pad into its native pairing state. Hold down the central PlayStation button and the top-left Create button simultaneously until the light bar beneath the touchpad begins flashing rapidly in a blue pattern. This distinct visual indicator confirms that the peripheral is actively broadcasting its signal to nearby hardware.
Next, open the settings menu on your laptop and navigate directly to the Bluetooth and devices section. Click on the option to add a new device and choose Bluetooth from the list of available scanning categories. Select the wireless controller option when it appears in the detected list to complete the initial hardware pairing sequence.
Using a Wired USB Connection
If you want to completely eliminate input latency or avoid managing battery levels during intense gaming sessions, a wired connection is the ideal approach. Simply plug a standard USB-C cable into the top port of the gamepad and connect the opposite end directly into an available port on your machine. Modern operating systems will instantly recognize the hardware and configure the necessary background drivers automatically.
Using a direct cable configuration is also highly recommended if your portable computer suffers from an unstable wireless receiver or outdated antenna components. This physical link ensures an uninterrupted data flow while simultaneously charging the internal battery pack. Many advanced game features work best when the peripheral is physically attached to the machine.
Configuring Settings in Popular Game Clients
Most modern PC titles require a dedicated gaming platform to correctly map the unique button layouts of the DualSense architecture. Launching your client settings menu allows you to enable desktop configurations designed specifically for PlayStation peripherals. This software layer ensures that standard button inputs match the on-screen visual prompts smoothly.
For optimal results, you can explore the advanced controller configurations within your favorite digital storefront. Activating global configuration support allows the software to translate signals for older titles that might not natively support current-generation pads. Taking a few moments to verify these calibration options prevents frustrating button conflicts down the road.
Troubleshooting Common Connection Troubles
If your gamepad fails to sync properly or shows a continuous blinking light without connecting, a quick reset often resolves the underlying conflict. Locate the tiny reset pinhole situated on the reverse side of the peripheral near the official logo text. Inserting a small paperclip into this recess for several seconds clears the active internal memory cache completely.
Additionally, ensuring your computer's built-in wireless drivers are fully updated prevents unexpected pairing failures. Corrupted system files or interference from nearby wireless equipment can occasionally disrupt the synchronization process. Keeping your operating system updated guarantees maximum compatibility with modern console hardware.